A Dummies Guide to Qlab, Part 2
TL;DR:
One more week of introduction to Qlab.
The Story:
So, now we know what all of the buttons do. Let’s look at the actual Cue List, where we spend much of our programming time.
The Esoteric Bit:
Here is a sample show from a concert I designed lighting and video for:
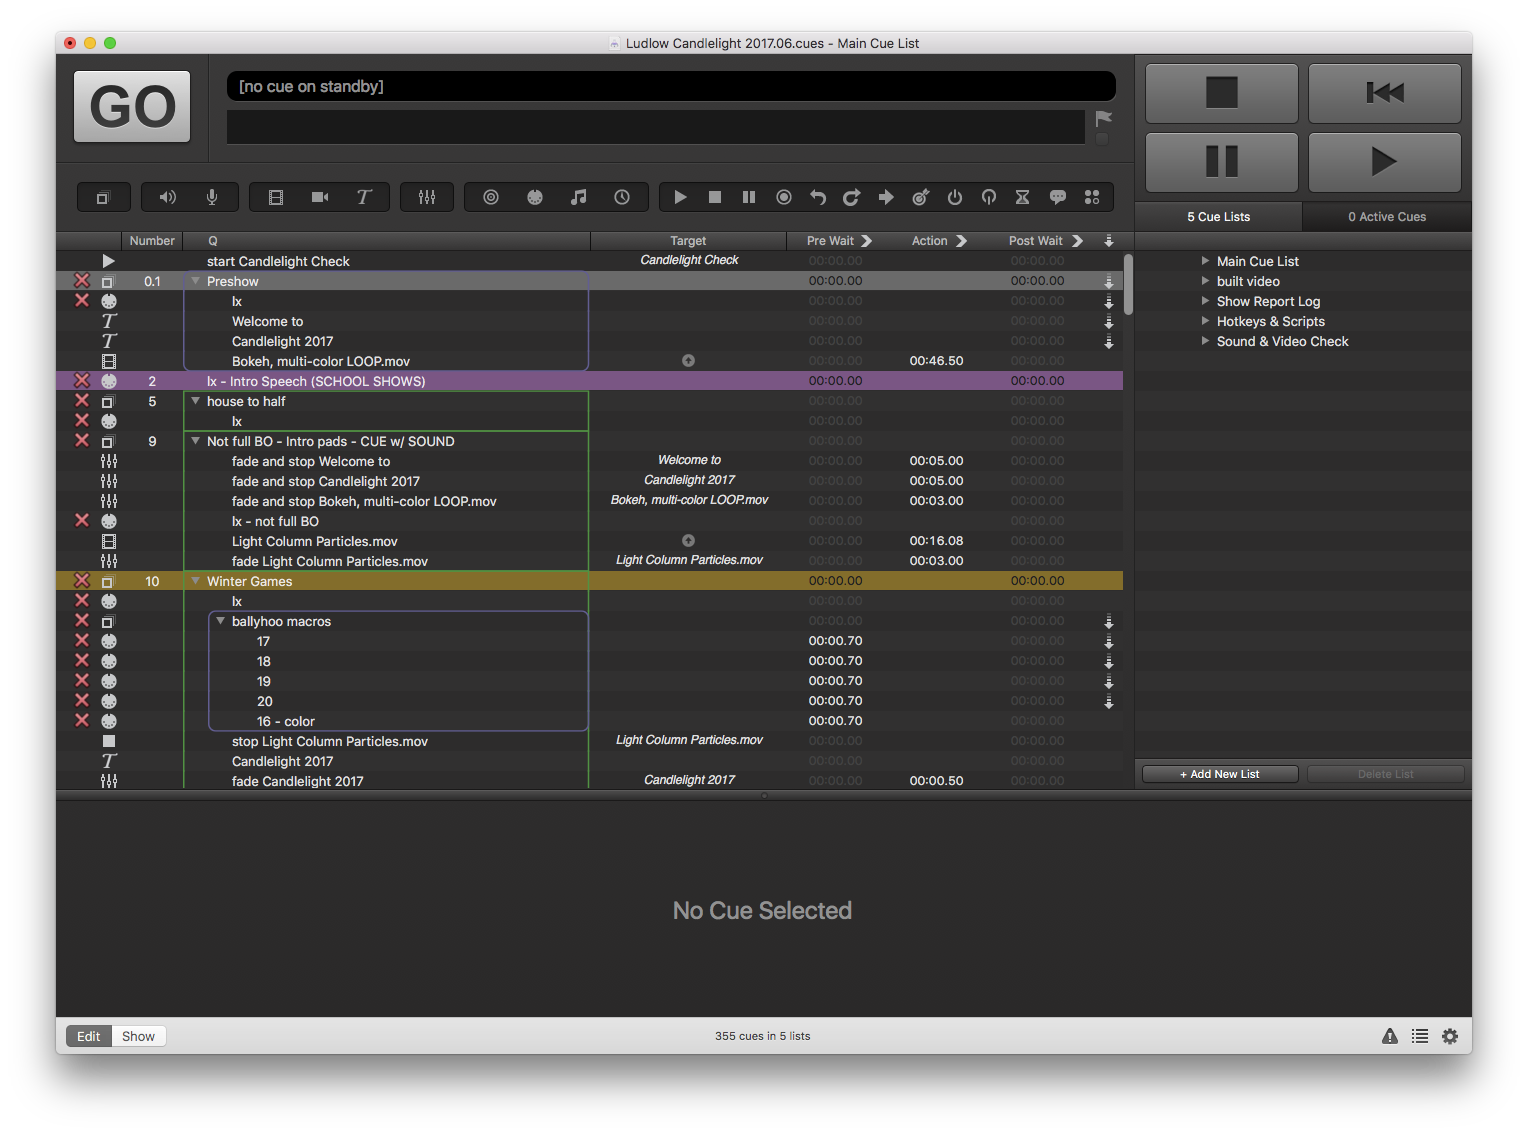
The first column shows us what kind of cue it is, which of course matches the icons we have in the toolbar.

The second column is the cue number. So we can see that cue 0.1 is a Play cue, 1.5 is a Fade Cue, and cues 2 and 3 are audio cues. (To quickly edit the cue number of the cue you have highlighted, just type “N”. Otherwise, just double-click.)
Next we have the description of the actual cue.
These are often auto-named by what the cue is doing, but you can rename these cues as you see fit. (Typing “Q” will allow you to edit this field when the cue is selected, or just double click on it.)
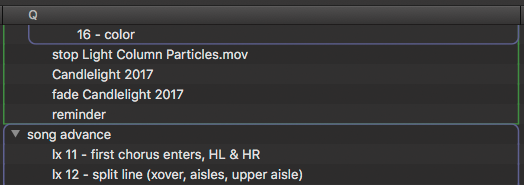
Next column is “Target.” As you might guess, this is what file (or cue) the cue is taking action on. In this example, one cue is targeting the cue called “Light Column Particles.mov” – which in itself was auto-named by the video I dragged into Qlab.
Let’s now skip to the last column – the one with an arrow.
This is your continue column, and has three states. Qlab will allow you to click this field once to make the cue “Continue”, and twice for “Auto Follow”. It can be confusing, but extremely powerful. Here is the breakdown:
- No Follow (empty, as shown) – Hit GO and cue fires, plays and stops when it is done.
- Continue (downward arrow) – Hit GO and cue fires and plays, but also immediately fires and plays the cue following it. (Example: “play audio and video cue simultaneously.”)
- Auto Follow (dot with downward arrow) – Hit GO and cue fires and plays, and upon finishing, fires the next cue. I like to think of the dot-and-arrow icon as like a “Stop sign, then proceed” image.
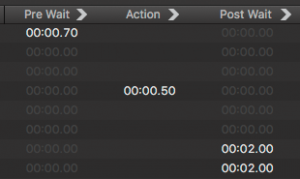
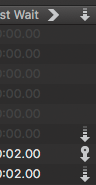
Now, back to the three time columns. The middle one, Action, is the duration of the cue. So, we can see in this example, the fade is one half second long – 00:00.50 of a second. Pre-Wait and Post-Wait are two sides of the same coin. Enter a time in the Pre-Wait, and the cue will delay that long until firing. Enter a time in the Post-Wait field, and Qlab will pause advancing until that time has elapsed.
Combined with the Continue/Auto Follow commands, and you can imagine a lot of cascading effects. Hitting GO once can start a music track playing and send a MIDI command to the light board simultaneously, and then play back images during certain points in the song, and finally start playing another song immediately after the first one finishes, without having to hit GO again!
Next week, we will skip ahead of these beginner’s guides to a useful Applescript that I program into every single show I do.
Cheers!
-brian