Random triggers in Qlab, and embracing spontaneity
TL;DR:
Embrace spontaneity – and actor performances – by using triggers and randomly generated cues in Qlab.
The Story:
Here’s a funny story I like to share. Back in the early 1990s, one of the biggest bands on the planet was U2. Their tour behind the album “Achtung Baby” – called Zoo TV – was one of the most ambitious of its time, and helped create and push what has become the modern multimedia spectacle of live shows. Designer Willy Williams hung East German-built Trabant cars over the stage (the album was conceived and recorded in Berlin), repainted, with headlights converted to spot lights. The stage was filled and flanked with a then-unheard of number of TV screens and video walls, filled with a huge amount of cycling video content and live camera feeds from all over the stage, including a camera feed carried around by lead singer Bono during parts of the show.
Among other things, the video content featured a number of words from a library deemed on-message by the band and designer. After all, U2 was, by this point, very involved in organizations like Amnesty International and was establishing itself as a political force. This tour was about entertainment, the then-new 24 Hour News Cycle, and juxtaposing it all together in a mess of fashion and current events. Rock and roll to make you think, as it were.
That library of words would come tumbling out on screens, like refrigerator magnet poetry. Nonsense or astute observation? The audience would decide. Sometimes there were deliberate phrases, but other parts were randomly generated. In the tour biography “At the End of the World,” I read about an embarrassing situation for the band as the random words came together to form a phrase completely contradictory to the band’s image in a non-ironic way – and some fans complained (maybe even sued).
An unfortunate, but amusing, event in the history of video projection and computers.
I’m going to give you two ideas for using triggers as a way to respond to actor performances, including random playback cues. One is from a play called “Hearts Like Fists,” and the other from “A Midsummer Night’s Dream.” If you are new to hotkeys and triggers, you may want to read this post on the subject, Triggers and Hotkeys in Qlab – a Primer.
The Esoteric Bit:
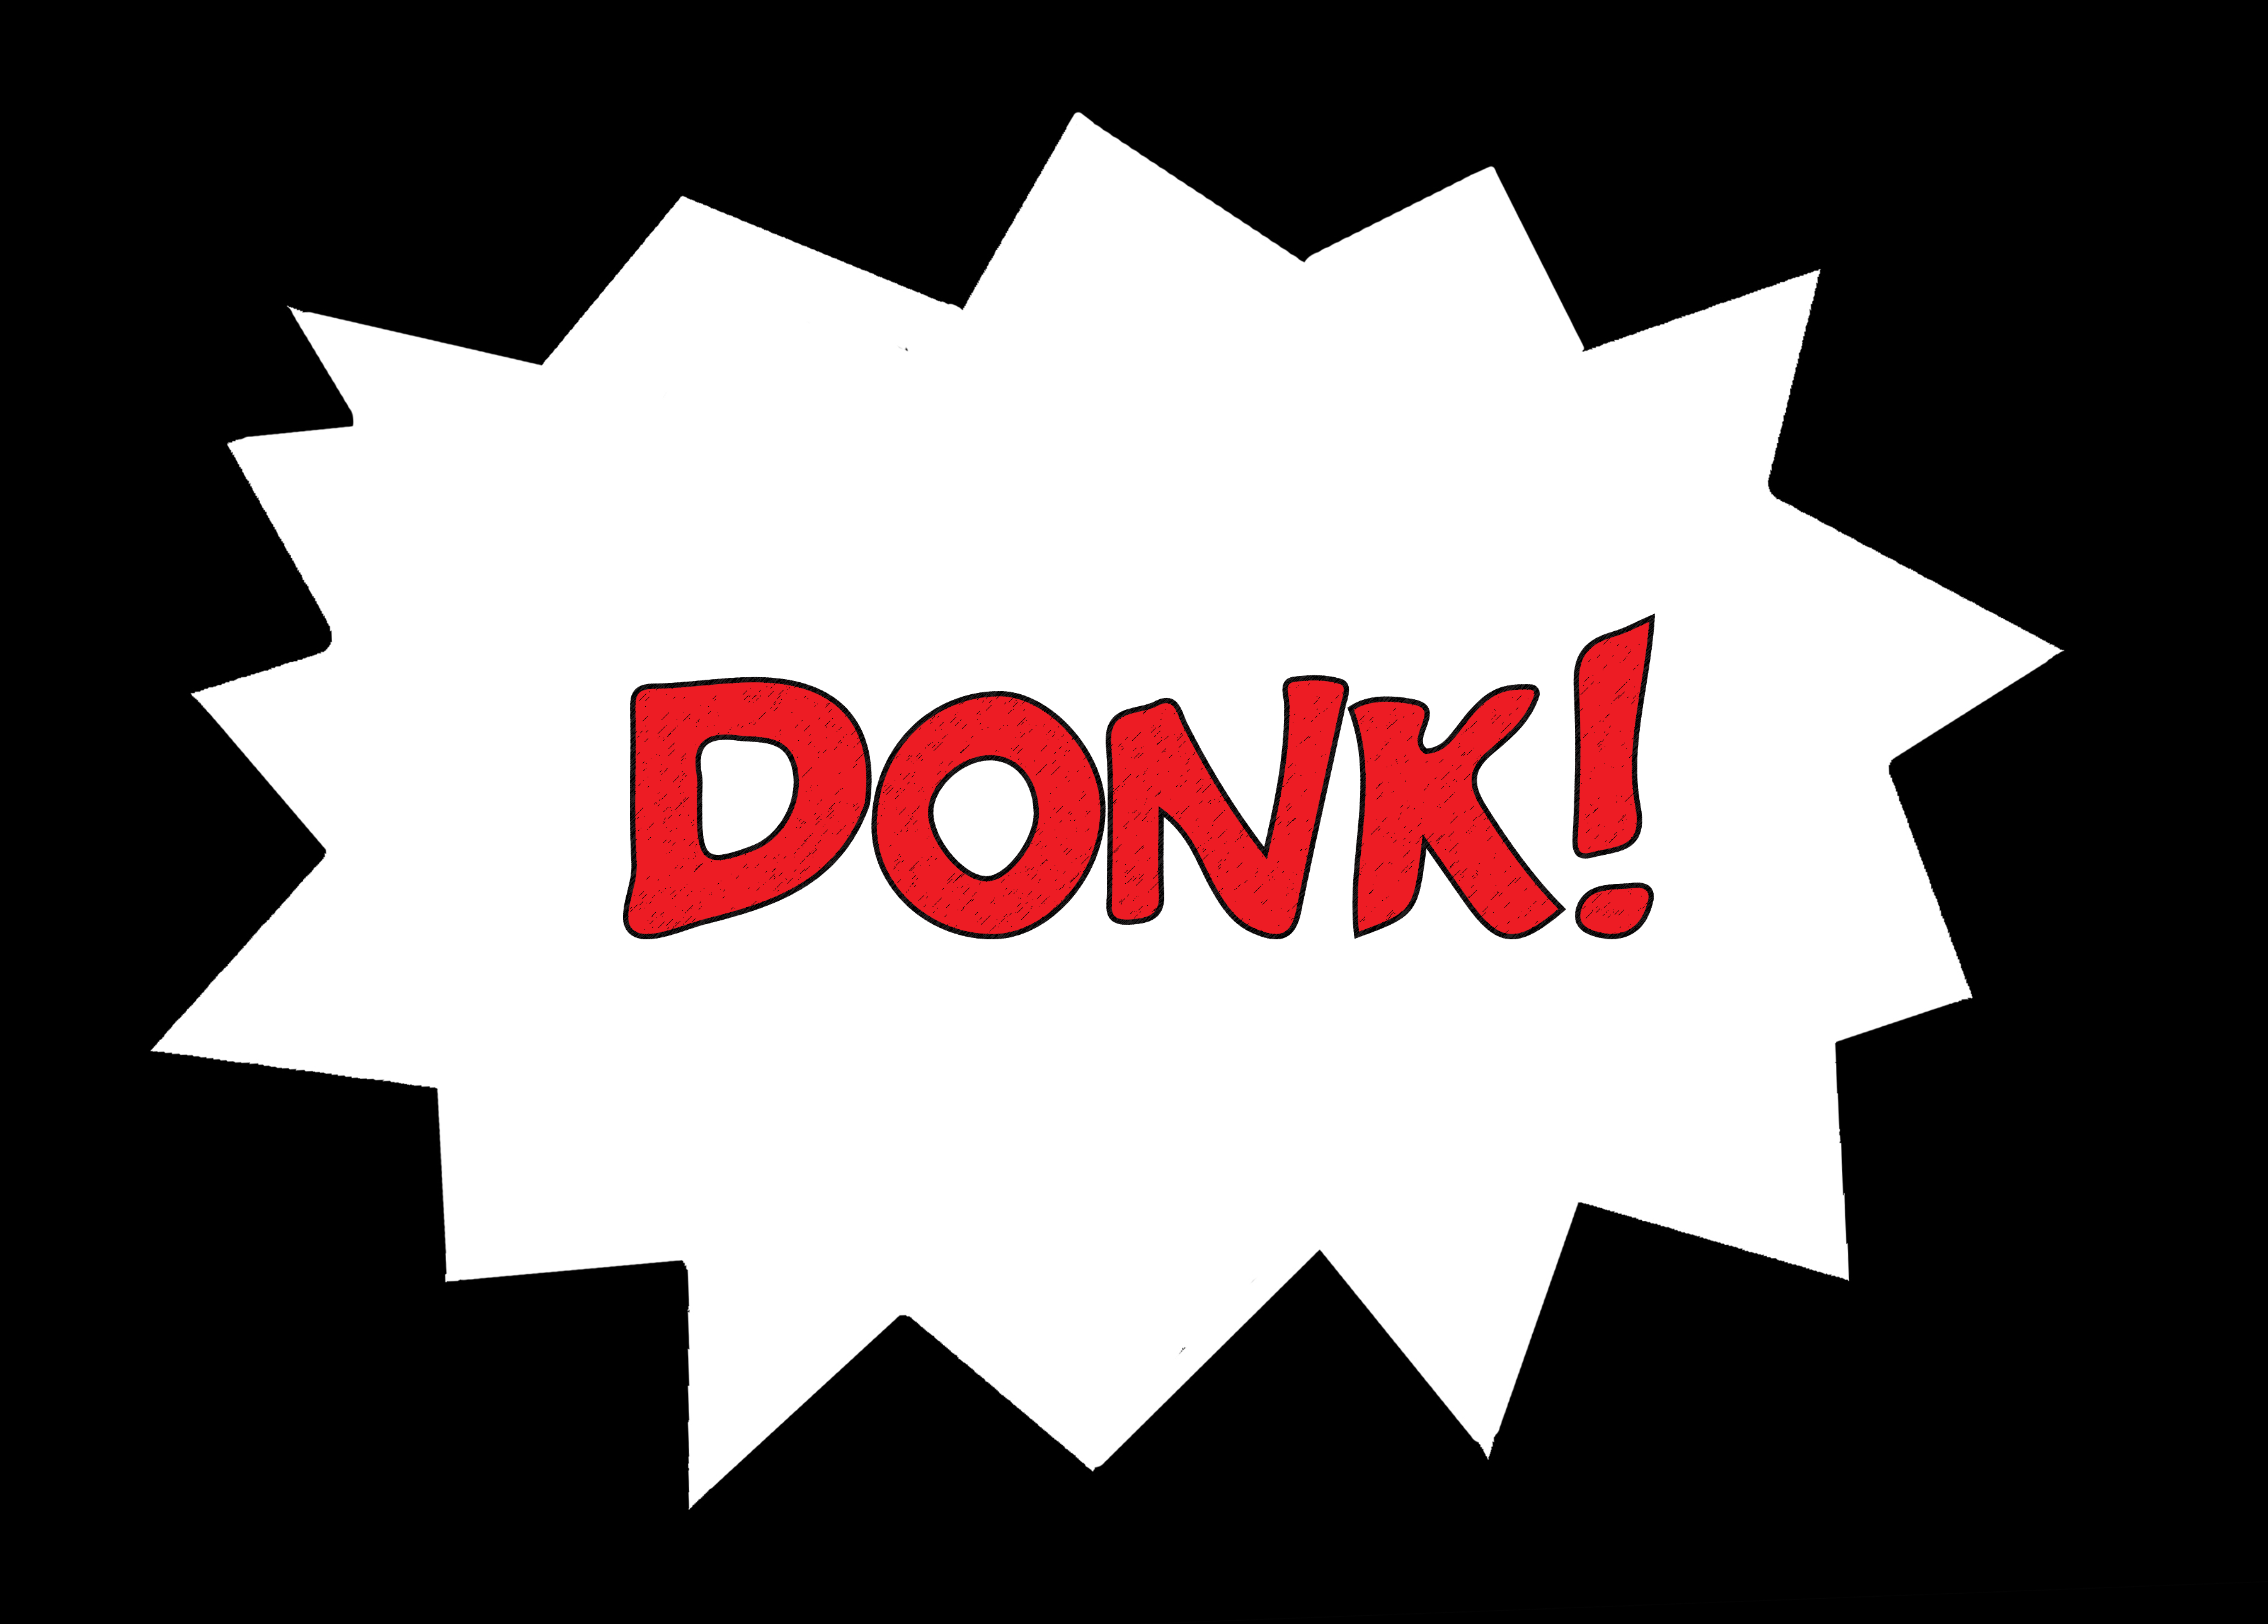
First Example: The show “Hearts Like Fists” is about a group of superhero crime fighters. It begs to be designed with lots of comic book elements. For our production at NVCC, we had a video screen upstage that looked like a comic book caption:

The video design team came up with a bunch of exclamations, mirroring this look. During the fight scenes, we wanted the graphics to appear as someone got punched or kicked – just like the old Batman TV show.
But this was a dynamic show, and despite fight choreography, we wanted to roll with the timing of the actors, as well as make sure that we didn’t jump cues – just because there are supposed to be three punches and one roundhouse kick, firing four cues in quick succession sounded like a chance for error. And if the choreography changed, we would have to work that into the design. Better to just have a special button – a trigger – for special use in the fight scenes. Even more, we could randomly generate which comic exclamation would appear, so we didn’t have to overthink the design, and enjoy the moment of performance.
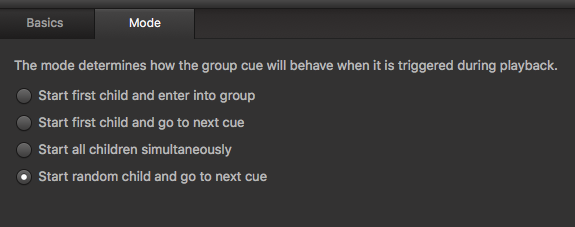
Create a new group – in a new Cue List, so we don’t fill up our main Cue List with junk we don’t need to see. Set it to “Random”. On the “Basics” tab, click in the “Trigger” field, and type any key that isn’t used by Qlab – I like to use the “0” on the numeric pad on the right, because it’s big yet out of the way.
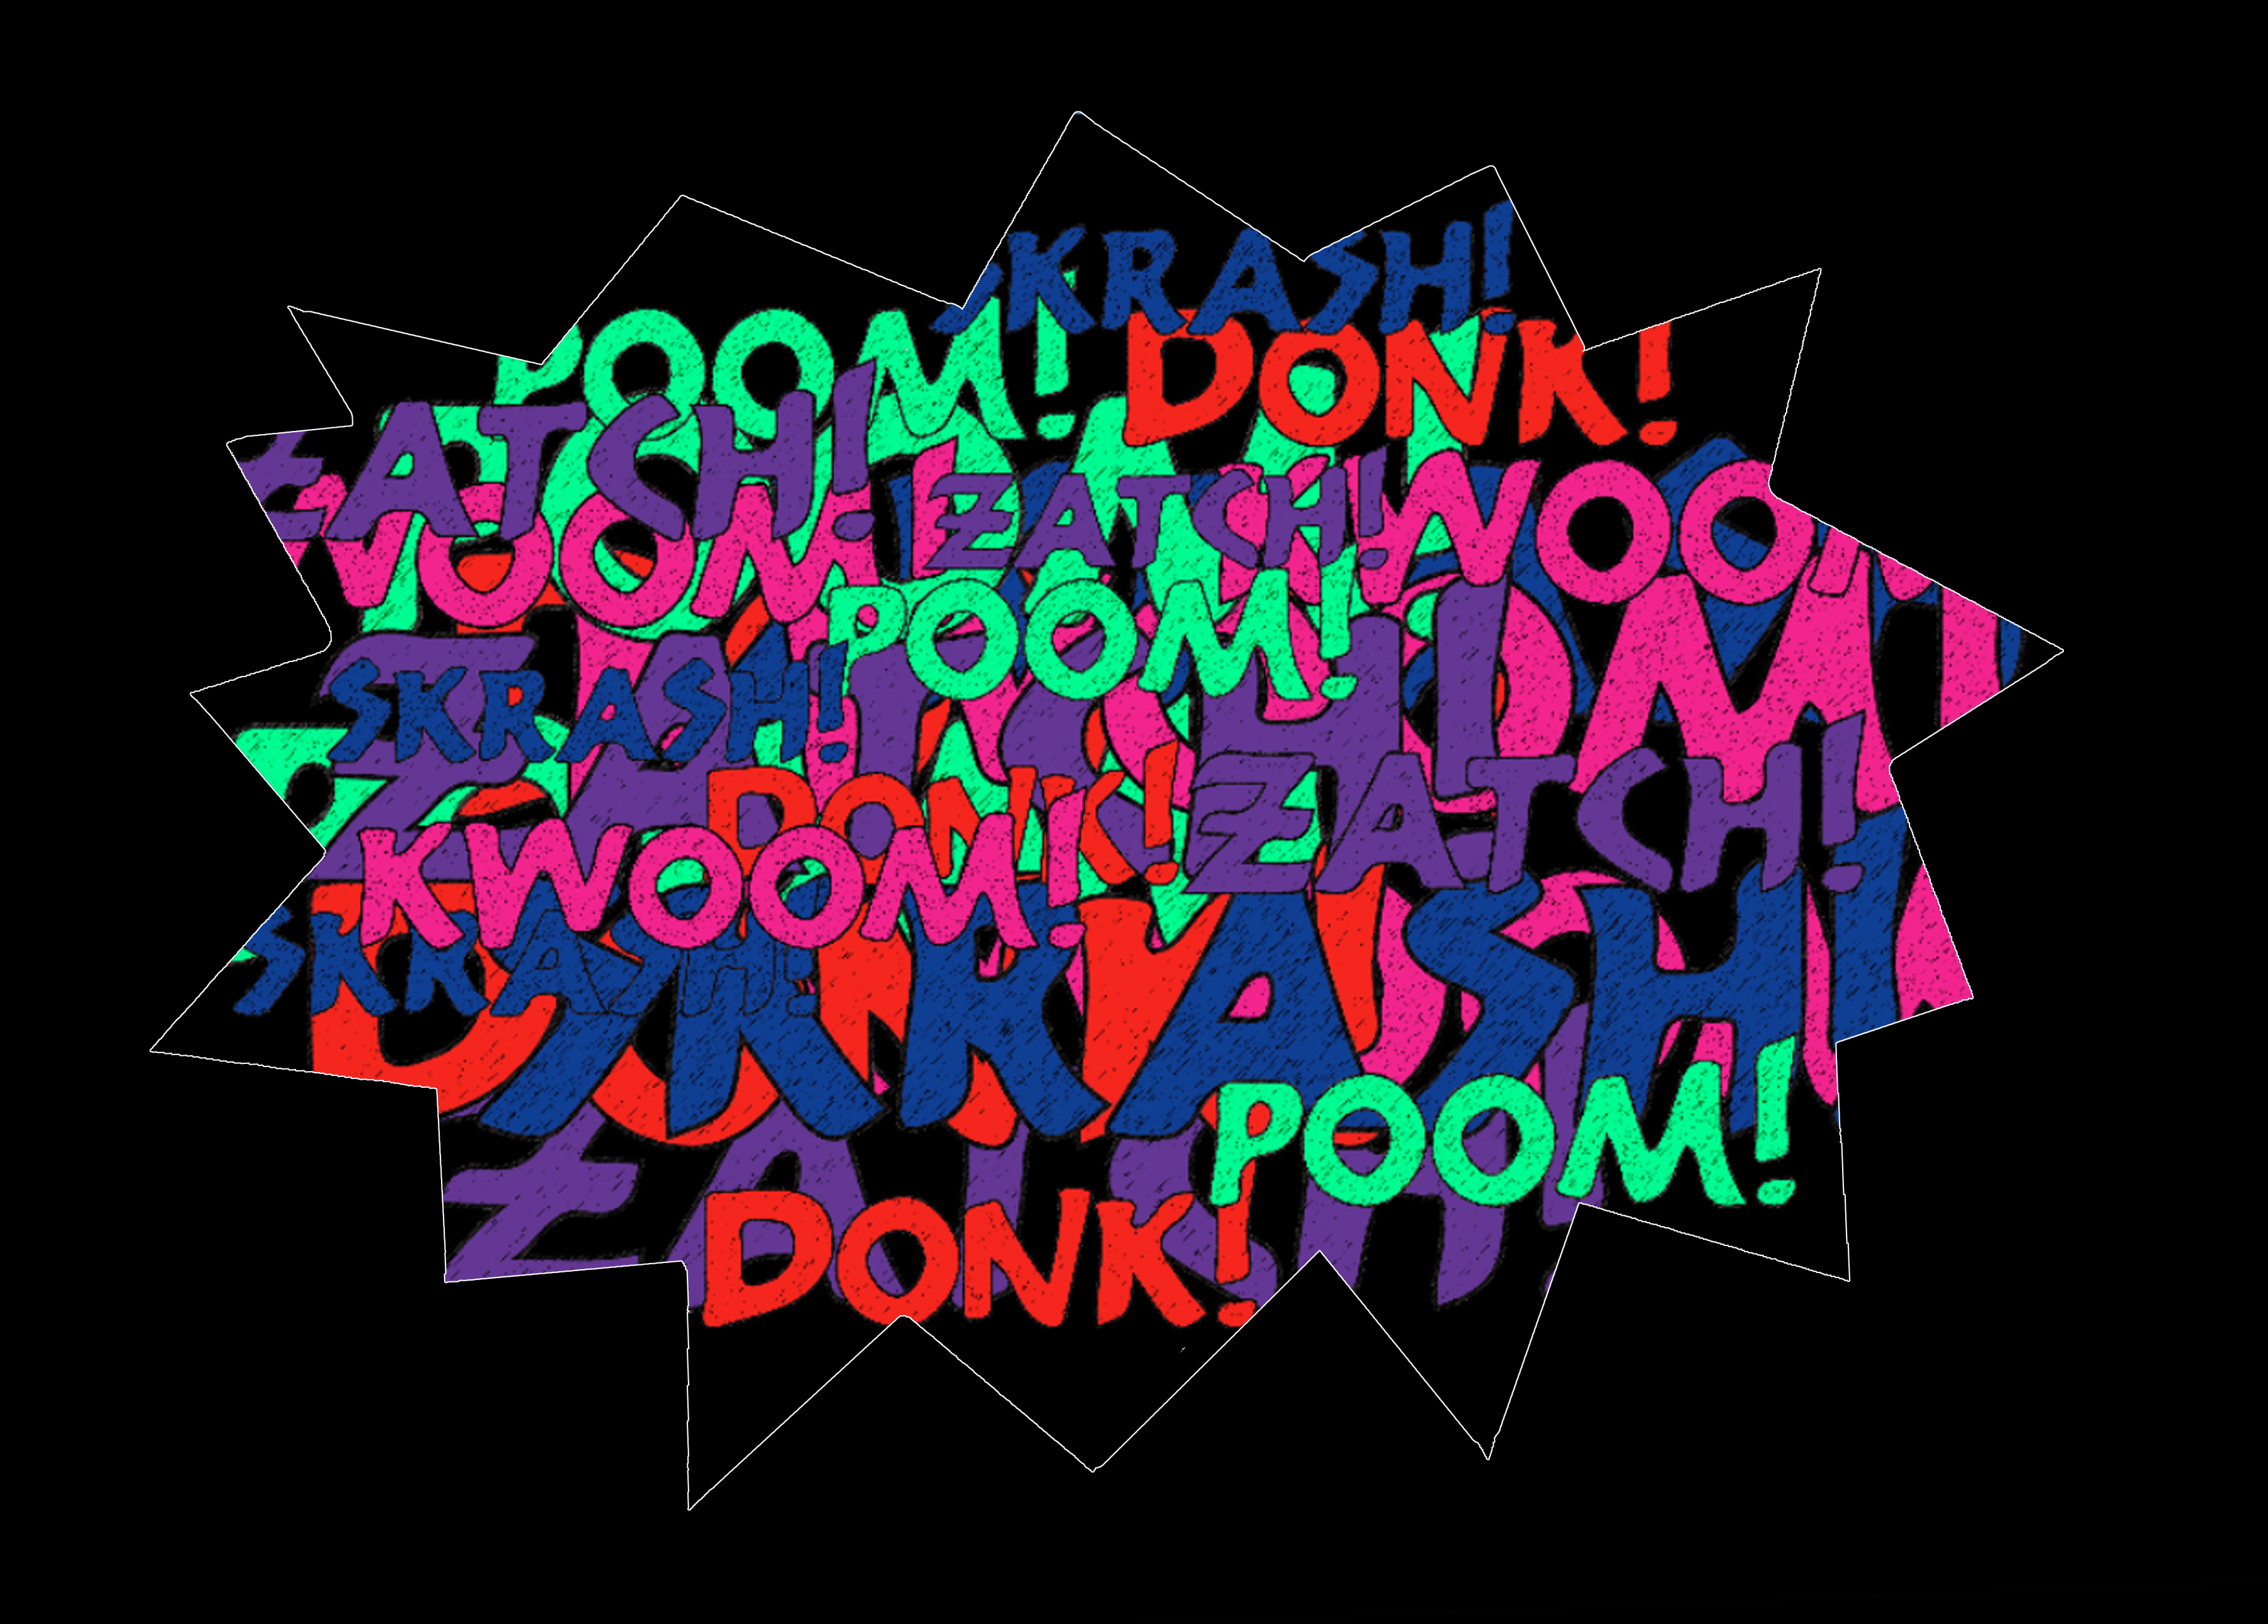
Every time you hit your trigger key, no matter where you are in the show, that Group cue will fire. And since the group is random, it will take one of any of the images in this example and put it on screen.
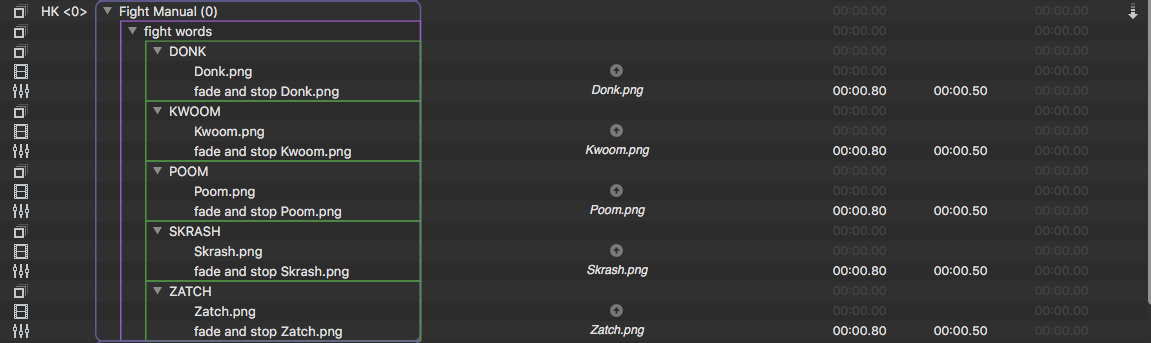
To breakdown the example above, the trigger plays the normal Group cue, which is outlined in blue. The purple, square-cornered “fight words” Group that gets played is set to randomly fire one of its child cues:
All of the child cues inside of it are simultaneous cues – the video graphic that gets displayed (no fade in, just pops on screen), and then a delayed fade cue to take the image out.
Now, in the main Cue List, add a Note cue, telling the operator what to do. You could, in theory, use a Play cue to do this and label that, but I like to keep actions consistent – the trigger is the way to fire this cue.
![]()
Now we hit the trigger during a fight scene, and every time we hit it something new gets added!
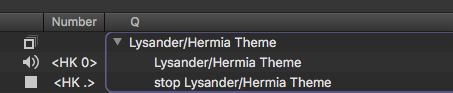
Second Example: In a variation of this idea, during A Midsummer Night’s Dream, there was a comic bit where the lovers are finding a place to sleep at night, off in the woods. He wants to sleep beside her, and she keeps telling him to move further away, because they haven’t gotten married yet. Every time he settles down, their theme starts to play, until she interrupts and tells him to keep moving.
It’s amusing. I wanted to give the actors the freedom to do this as much as they wanted, and milk the crowd’s reaction if they wanted to. Driving the performance by the design or direction – “You are going to do this four times, no more, no less” – is the totally wrong approach, and re-using the same cues could create confusion. So we had the theme music available on a trigger, and another trigger to stop the music, with both cues off in a Cue List separate from our main show cues.
Then the operator could just bounce back and forth between stop and start, and at the end of the comic bit, just let the track play.
This avoids the dreaded “I’ll just scroll up and re-run the same cue.” By using triggers you can respond more quickly to what is happening on stage, and keeps the linear flow of the show’s cues. I put a memo in the main Cue List, reminding the operator what to do, and then followed it with the cue that would naturally fade out the music and soundscape at the end of the scene and start music for the next scene.

That’s it! Hopefully this gives you some ideas and flexibility in your own designs. There can be more than one GO button!
Cheers!
-brian
Tags: audio, live production, programming, projection, qlab, sound design, sound engineer, stage, theatre, tutorial, video, video design