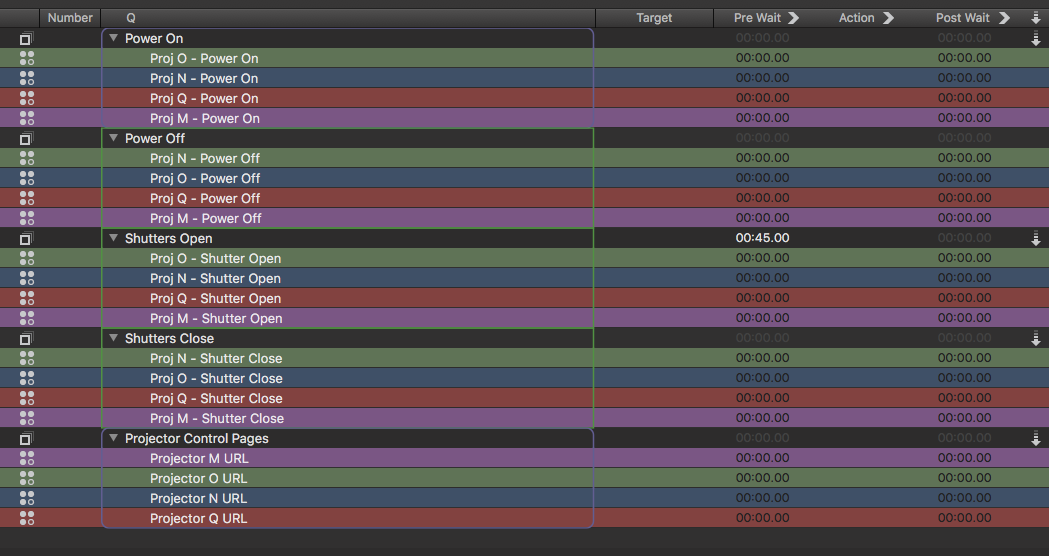
Projector shutter control scripts for Qlab (Panasonic)
TL;DR:
Control a Panasonic projector’s power and shutters using Qlab (Developed using a Panasonic D6000)
The Story:
In our examples in this post, we are using a Panasonic D6000 – every brand is different and uses different controls. I’ve used this with more than one model from Panasonic. This post will probably be more of a springboard for you to research your own projector’s commands and options. In the scripting below, we are using a protocol called PJLink. Once again, I would also like to credit Mic Poolwith the majority of this scripting, as he had posted much of what I needed for the shutters and power on the Qlab Google Group.
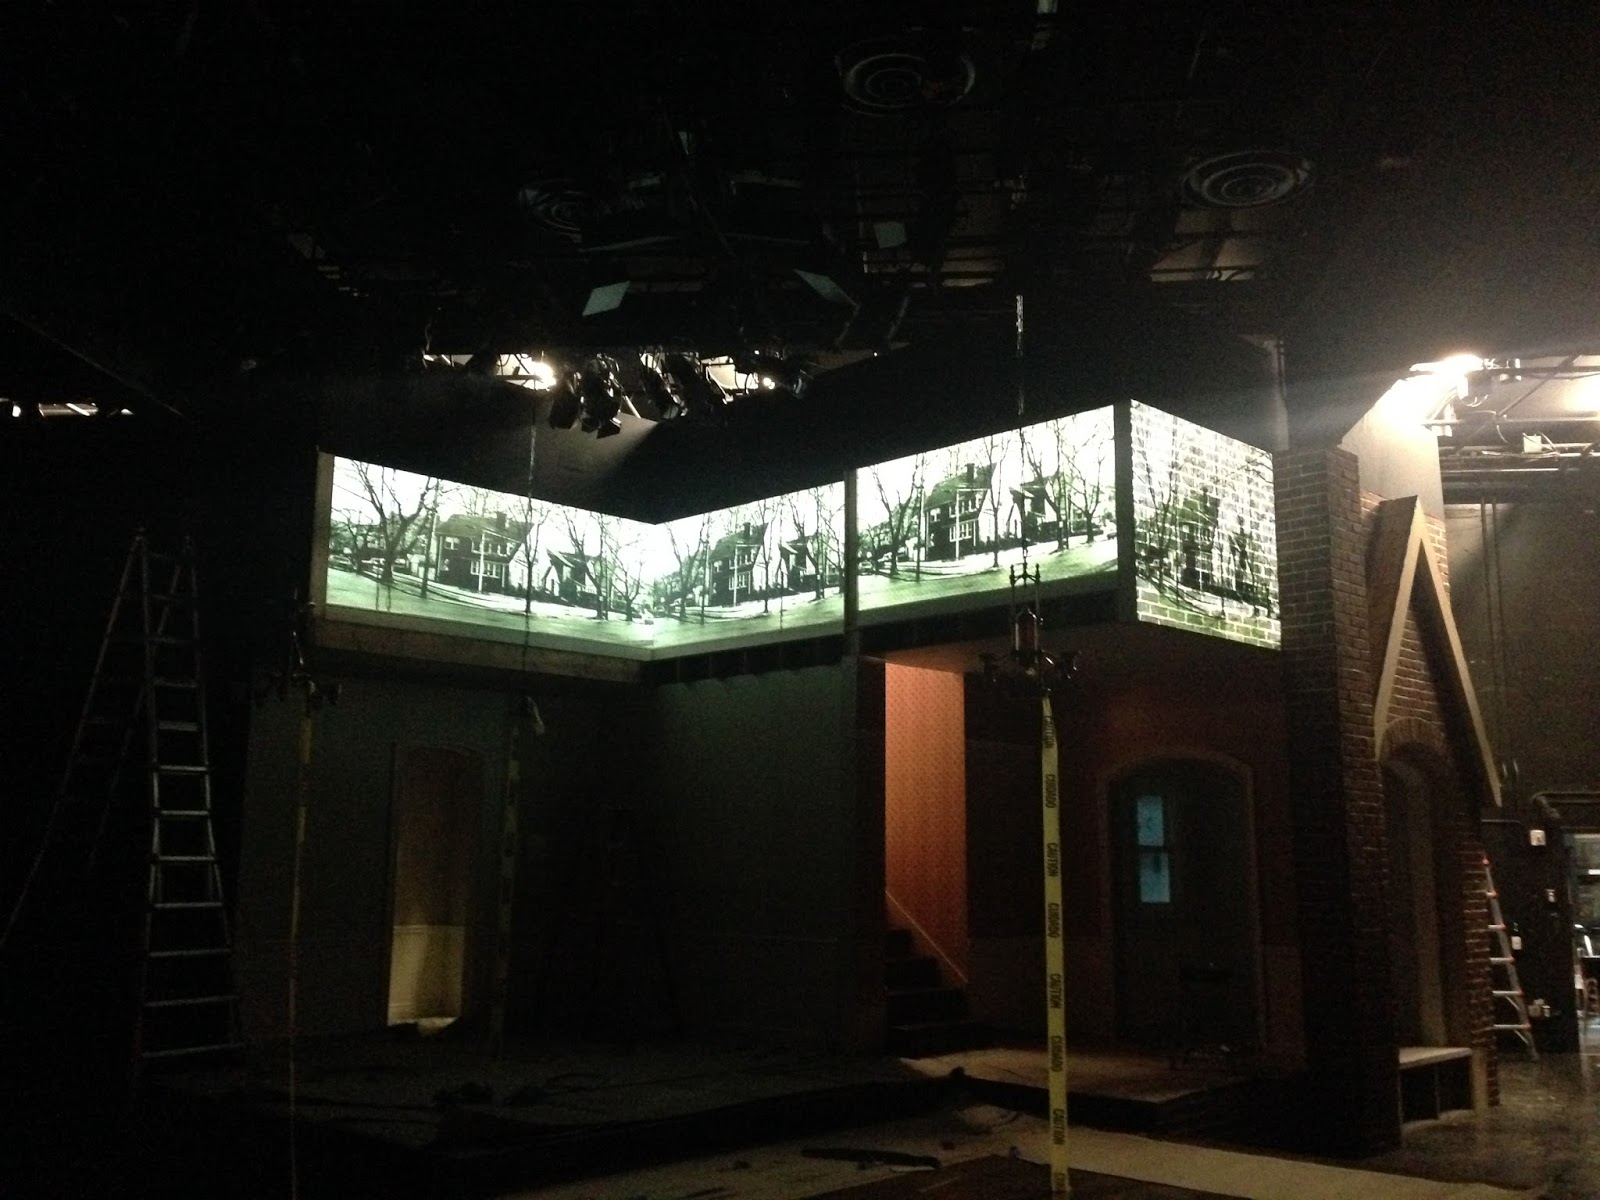
When I was video engineer on “Having Our Say,” we had four projectors mapping the set. As the tech process moved forward and the video design (completely) changed, we needed the ability to shutter the projectors. During this time, as DMX shutters were being sourced and budgeted, I learned about projector LAN controls – you know, those ethernet jacks on the side where all of the other plugs are? Turns out you can control every facet of the projector there, without having to try and aim the IR remote JUST RIGHT.
The following scripts were researched, copied and developed to help consolidate the technical process of the show. In addition to controlling the shutters, I wanted to be able to power up all of the projectors in my Qlab pre-show scripts, and then power them off at the end of the show. Here is how I did it.
NOTE: There is an inherent issue with leaving shutters closed for too long on a projector, regardless of the brand. With the shutter closed, heat will build up – sometimes very quickly – and may cause your projector to reach it’s maximum operating temperature. When that happens, it will shut down! So, in this show, while we were using the shutters, I built in cues to open the shutters during discrete times, like during Intermission, and just showed digital black. Then, before the lights started to fade, I closed the shutters so the audience wouldn’t notice them go out.
The Esoteric Bit:
I created a number of scripts for the projectors, so that I would have individual controls available. For instance, rather than making one script to power on all of the projectors, I created four scripts, and then just grouped them together in a simultaneous group cue.

Projectors are like any other networked device. Once plugged into the network, they have an IP address, either assigned via DHCP from the router; or, better for live setups like this, set as a static IP address at the projector.
(Perhaps at some point I will write an article about the grinding details of IP addresses. If you don’t know what one is, it’s the device’s address on a network. For instance, the default, out of the box address for many routers is “192.168.1.1” – the address for the projector in the example below is “192.168.1.20.” All you need to know is that when setting your IP address on the projector, you will need to set it within the range that the router is operating at – in this show example, I had four or five projectors, plus a show computer, plus some other stuff and computers at tech tables. So we needed a router to tie it all together. If you are just running a network cable from your computer to one projector, you probably will not need a router. But you’ll still need to set addresses within range of each other. Yup, that will be a future article…)
On the projector, somewhere under advanced or network settings, you will be able to set the IP address. Much easier to do that on the ground, before you start rigging things! Run your network cable, power up, and open up a web browser. Type in the IP address of the given projector. (In our example here, it’s 192.168.1.20. Change this to whatever IP you are using.) When you are done, slap some console tape on the projector, with the IP address written on it. If you haven’t changed the defaults, you’ll need to log in with this information:
Username: admin1
Pasword: panasonic
(If you have changed the username and password, the scripts below are annotated so you can reflect this change.)
The resulting web page is hosted on the projector, and you will have access to ALL of the projector’s controls! No need to run back and forth with the remote control – you can make all of the adjustments from your show computer, from screen size to position and more. Here is the script I created to open up that control web page, for diagnostic and focus purposes. I ran it from QLab rather than save it as a bookmark in the browser – making it easy for the operator when I’m not there, and eliminating confusion of “which browser.” (The username and password, however, were saved in my browser.)
OPEN PROJECTOR CONTROL PAGE SCRIPT:
tell application “Safari”
open location “http://192.168.1.20”
end tell
You could easily change this script to target Chrome or Firefox, etc.
Ok, so now for the scripts that actually controlled the features I wanted.
First, let’s turn the projector on and off:
POWER ON SCRIPT:
set powerOn to “/cgi-bin/power_on.cgi”
set powerOff to “/cgi-bin/power_off.cgi”
set shutterClose to “/cgi-bin/proj_ctl.cgi?key=shutter_on&lang=e&osd=on”
set shutterOpen to “/cgi-bin/proj_ctl.cgi?key=shutter_off&lang=e&osd=on”
#Do not change anything above this line!
set theServer to “192.168.1.20” — set this to the ip address of the projector
set theUsername to “admin1” — set this to the username for the projector
set thePassword to “panasonic” –set this to the password for the projector
set theCommand to powerOn –set the command required, option are, powerOn, powerOff, shutterClose, shutterOpen
#Do not change anything below this line
set theProtocol to “http” — vs https
set theUserPass to theUsername & “:” & thePassword — your Indigo remote access username/password
set theURL to theProtocol & “://” & theUserPass & “@” & theServer & theCommand
set theFinalURL to “\”” & theURL & “\””
with timeout of 1 second
do shell script “/usr/bin/curl” & ” ” & “–connect-timeout” & ” ” & “1” & ” ” & theFinalURL
end timeout
POWER OFF SCRIPT:
set powerOn to “/cgi-bin/power_on.cgi”
set powerOff to “/cgi-bin/power_off.cgi”
set shutterClose to “/cgi-bin/proj_ctl.cgi?key=shutter_on&lang=e&osd=on”
set shutterOpen to “/cgi-bin/proj_ctl.cgi?key=shutter_off&lang=e&osd=on”
#Do not change anything above this line!
set theServer to “192.168.1.20” — set this to the ip address of the projector
set theUsername to “admin1” — set this to the username for the projector
set thePassword to “panasonic” –set this to the password for the projector
set theCommand to powerOff –set the command required, option are, powerOn, powerOff, shutterClose, shutterOpen
#Do not change anything below this line
set theProtocol to “http” — vs https
set theUserPass to theUsername & “:” & thePassword — your Indigo remote access username/password
set theURL to theProtocol & “://” & theUserPass & “@” & theServer & theCommand
set theFinalURL to “\”” & theURL & “\””
with timeout of 1 second
do shell script “/usr/bin/curl” & ” ” & “–connect-timeout” & ” ” & “1” & ” ” & theFinalURL
end timeout
Now that we have control over the power, let’s start using those shutters!
SHUTTER OPEN SCRIPT:
set powerOn to “/cgi-bin/power_on.cgi”
set powerOff to “/cgi-bin/power_off.cgi”
set shutterClose to “/cgi-bin/proj_ctl.cgi?key=shutter_on&lang=e&osd=on”
set shutterOpen to “/cgi-bin/proj_ctl.cgi?key=shutter_off&lang=e&osd=on”
#Do not change anything above this line!
set theServer to “192.168.1.20” — set this to the ip address of the projector
set theUsername to “admin1” — set this to the username for the projector
set thePassword to “panasonic” –set this to the password for the projector
set theCommand to shutterOpen –set the command required, option are, powerOn, powerOff, shutterClose, shutterOpen
#Do not change anything below this line
set theProtocol to “http” — vs https
set theUserPass to theUsername & “:” & thePassword — your Indigo remote access username/password
set theURL to theProtocol & “://” & theUserPass & “@” & theServer & theCommand
set theFinalURL to “\”” & theURL & “\””
with timeout of 1 second
do shell script “/usr/bin/curl” & ” ” & “–connect-timeout” & ” ” & “1” & ” ” & theFinalURL
end timeout
SHUTTER CLOSE SCRIPT:
set powerOn to “/cgi-bin/power_on.cgi”
set powerOff to “/cgi-bin/power_off.cgi”
set shutterClose to “/cgi-bin/proj_ctl.cgi?key=shutter_on&lang=e&osd=on”
set shutterOpen to “/cgi-bin/proj_ctl.cgi?key=shutter_off&lang=e&osd=on”
#Do not change anything above this line!
set theServer to “192.168.1.20” — set this to the ip address of the projector
set theUsername to “admin1” — set this to the username for the projector
set thePassword to “panasonic” –set this to the password for the projector
set theCommand to shutterClose –set the command required, option are, powerOn, powerOff, shutterClose, shutterOpen
#Do not change anything below this line
set theProtocol to “http” — vs https
set theUserPass to theUsername & “:” & thePassword — your Indigo remote access username/password
set theURL to theProtocol & “://” & theUserPass & “@” & theServer & theCommand
set theFinalURL to “\”” & theURL & “\””
with timeout of 1 second
do shell script “/usr/bin/curl” & ” ” & “–connect-timeout” & ” ” & “1” & ” ” & theFinalURL
end timeout
One of the other problems with this show was that we were getting unexplained HDCP errors (high definition copy protection – the protocol that is supposed to stop you from plugging a computer’s digital video out into unapproved devices, preventing you from duplicating the content or starting up an illegal movie theatre). So, at random points, we would have a projector suddenly turn to snow! Definitely traumatic for the delicate performance.
To hide this, as well as have some manual control during the tech process, I added a hotkey to the shutter close scripts using the numbers 1-4, and labeled the keyboard. That way we could slam the shutters closed in event of an error, though we could have also done this on the lighting console, using either macro buttons or turning submaster bump buttons into hotkeys.
Cheers!
-brian
