Digital play scripts/prompt books are here!
TL;DR:
Ditch paper scripts/prompt books for computer copies. Never lose or forget your script again, and guess what – it’s BACKLIT!
The Story:
I design in a lot of different theatres, often with overlapping schedules. This is a common designer dilemma. There was one time I had six shows opening within a six week window! Granted, not all of them were huge, but that’s a pile of scripts to have to carry around so you always have the right one!
Obviously, I like technology, and this was a perfect reason to use PDF versions of my scripts. I also need to be able to share my scripts with my operators, and paper isn’t very good at the whole “remote” thing.
I love reading and working on my iPad, and use iAnnotate a lot. However, making edits to those notations anywhere other than on that iPad is impossible. So, while I may do my initial read-through and note taking in iAnnotate on my iPad while resting out on my hammock, I make my show prompt book using Preview in OSX. That’s right – I’m not even bothering with Acrobat.
The notes are easy to make – there is a text tool, along with the ability to draw lines, and you can color code everything you notate.
Early in my development of this workflow, I was on a show that found me a little behind in marking up my book. It was a musical, and I wanted to mark actor entrances and exits (in a new color) for live mixing notes. I had already used PDF scripts on another show, and gotten their feedback on the experience…but they only had limited changes to make. This was going to be a lot more work.
I’m glad to report that this most recent show worked out perfectly. I had two college students working the (analog) FoH desk – one for playback, assisting, and comm, and the other was just mixing. The mixing engineer had enough wiggle room to make all of the notations for entrances and exits during rehearsal, as well as touching up the playback cues. It worked perfectly, and I was able to view their work after each rehearsal and make my own notes.
In the end, I will admit that this method does take a little longer than scribbling in a book. However, I feel that the advantages greatly outweigh the benefits:
- As a designer, I can present engineers and techs with a fully-marked book at tech, and make additional edits as needed.
- The script is backed up and can’t be lost or destroyed, when combined with my use of Google Drive (see my post on how I use this).
- It’s backlit! No longer do you need a light trained on your script – you can read it at any time.
- You probably already have a computer at your station anyway. Combined with a second monitor and triggers in QLab (see next week’s post), it’s even easier to turn pages using this solution and always see where you are!
- Easily color code cues, just like you would with highlighters in the paper version.
- No leftover marks from pens or pencils that won’t quite erase.
The Esoteric Bit:
I’m already a Qlab user and a Mac fanatic, so you know I’m doing all of this on a Mac. For my purposes, I prefer the PDF/image viewing application that comes with macOS – “Preview” – over Adobe Acrobat. (I actually haven’t installed Acrobat in…5 years? 8 years? Having worked a long time in art and publishing, I definitely use PDF files and edit them a lot, but haven’t needed Adobe Acrobat really since leaving the industry.)
Preview has changed a little bit across the different versions of macOS. So, depending on the cat/mountain range that your Mac is running, you may have some very slight differences.
The first challenge is getting my play script as a PDF. I have found that sometimes, depending on the show, I can get a copy of the script online (legal or otherwise). However, I have found that it is best to work off of the same book as your stage manager is using, so that when the director calls to a certain page, you can follow along easily. It cuts down on the number of questions in tech rehearsal – variations on “where are we?”
A lot of productions these days have the script already in PDF, either as part of their licensing package or whatever. At my main school, if we don’t have the script in PDF we just run it through a big standalone copy/scanner which puts it into PDF.
(As for the legality of this, I honestly don’t know – but I see it as “fair use” much like ripping a CD to make MP3s. I am not redistributing the material, I’m just putting it into a format I can use.)
End result – it doesn’t matter if the PDF pages are made up of text or images (scans). I’m marking it up using the text tool in the left margin, and the line tool to draw horizontally to the cue word in question. Just like people have worked on paper for decades of modern theatre.
Depending on what version of Preview/MacOS you are using, the screenshots may differ, but all of the functions are the same. (The examples here are from MacOS v10.12.)
——————–
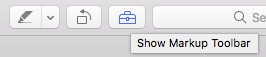
First off, turn on your toolbar, usually found under the toolbox icon up top. (Older versions of Preview have this button on the bottom, if I recall.)
The tools I usually use are the line drawing tool and the text box:

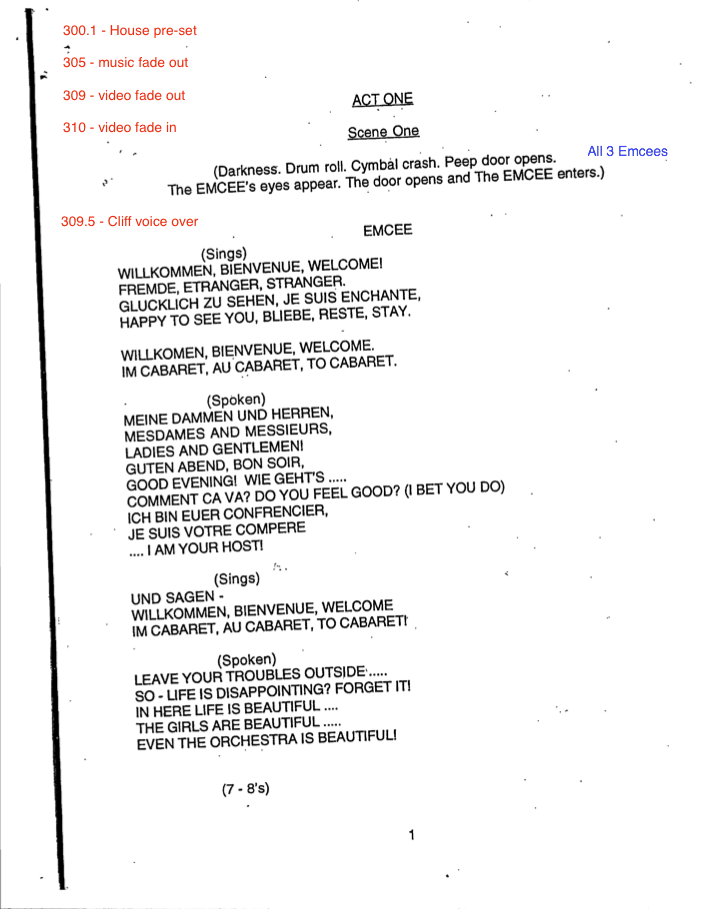
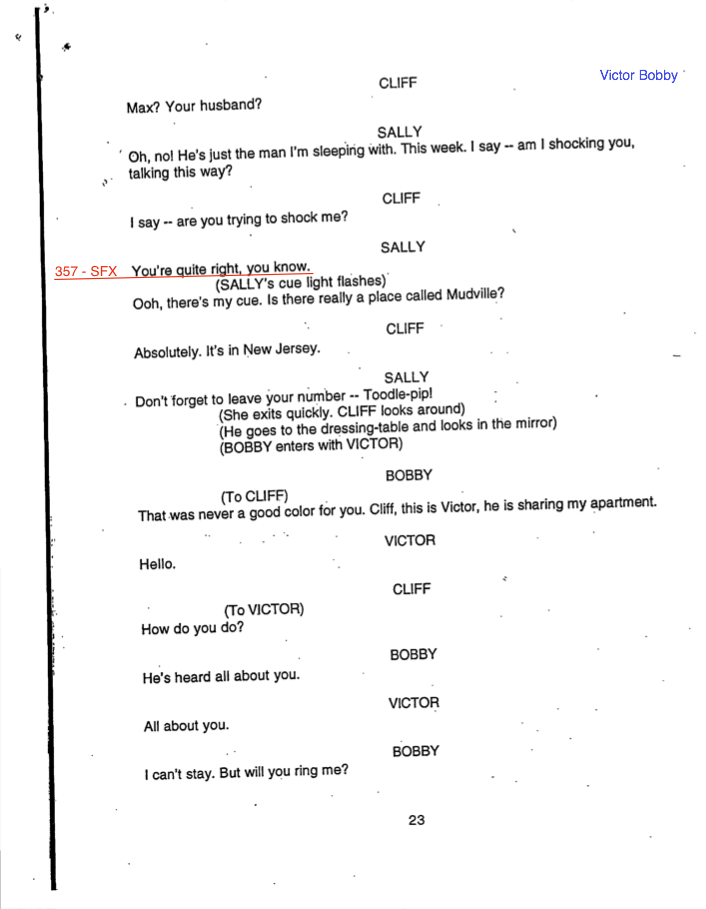
Any notation can be dragged all over the page, if there is a change. Here are two sample pages from “Cabaret:”
There are some rules/guidelines that I follow:
- Use the same font and weight for everything. Use the same color, or keep consistent with color choices. If you make a choice in font size before you make a notation, that formatting becomes your default.
- I use a strong color for all of my notations, so it stands out from the text of the script. (I always use the default red.)
- If I am marking a script for live mixing and I want to notate character entrances, I’ll notate their names in a new color, to keep it separate from my GO cues. I think I have grown to liking those notations on the right side of the page, also as a way of separation, as well as to avoid overlaps with numbered cues.
- I keep marking all of my cues on the left side of the script, since I don’t have a gutter to worry about, like I would in a physical book.
- Depending on the layout of the script and/or the scan, if the margin I am marking up in is messy or otherwise I need my text notations to stand out, I will ensure that my text notations have a white background, which makes it easier to read.
- As with a regular paper script, I draw a straight underline from the cue word to the cue in the margin.
Here are a few known issues to be aware of:
- As with any work done on a computer, SAVE OFTEN!
- This may be obvious, but you can’t have two people editing the same document at the same time, even if you’re syncing with Google. Similarly, if it’s tech and I want to make edits from home, I have to make sure that the script is closed on the show machine, if it’s online and actively syncing.
- If you start making notations, save, and then open the PDF in a newer version of Preview/macOS, often times you will get a frame around your text, like this:
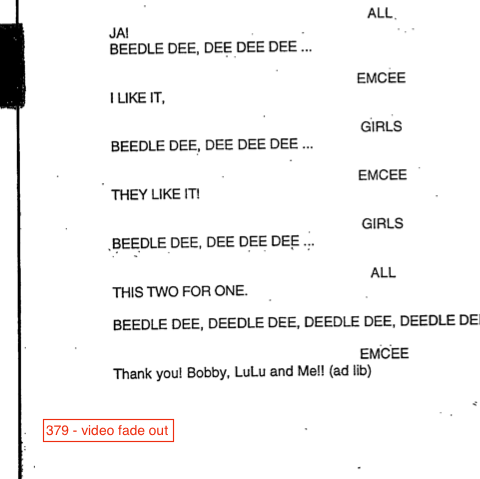
I don’t know why this error happens, it’s kind of annoying. It’s easy enough to remove, but it has to be done to each individual text notation. It isn’t a game-ender, but it is an area for improvement. If it happens to me, I often just ignore it, leave the new boxes, and curse quietly under my breath. The show moves on.
Overall, while this does take a little bit more time scribbling with a pencil, it really allows me to make changes much neater; if I were marking up my script with a ruler and being neat, it takes about the same amount of time. Due to the fact that I am working on this often off-site, it really has saved me a lot of time and headache – the board op can get working/set up before I could arrive at the theatre with a paper copy. Save and sync from my home office!
Cheers!
-brian